
Propagation
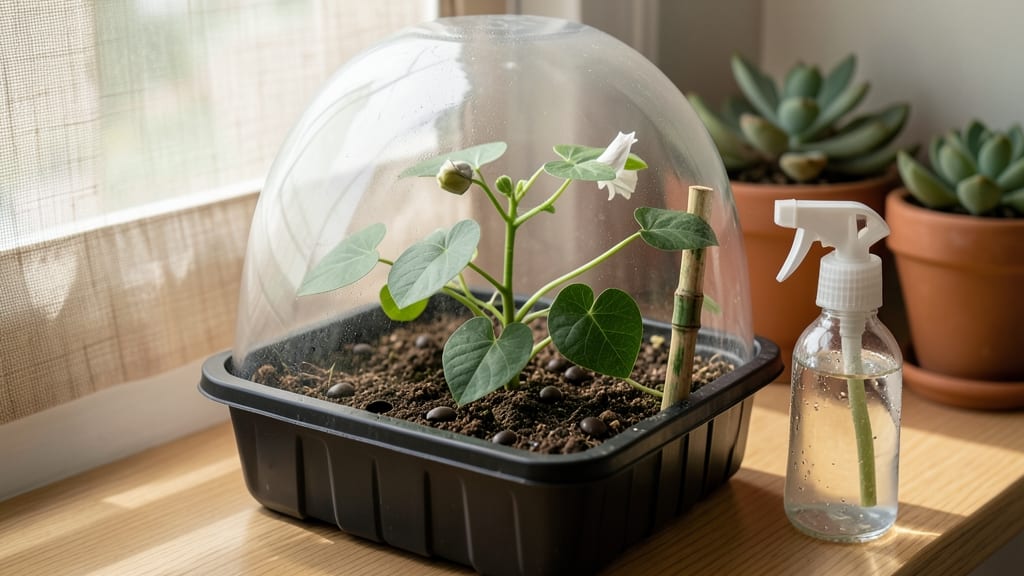
Germinating moonflower seeds 🌙 can feel like waiting for a miracle—but with the right soak-and-strata trick, you’ll see those first green shoots in just 7 to 14 days.
Struggling to get your moonflower (Ipomoea alba) seeds to sprout? These delicate vines hold secrets to faster germination—if you know the right soak-and-strata techniques.
The key lies in mimicking their natural environment: a quick warm soak to kickstart hydration, followed by a cool, damp period to break dormancy. Skip these steps, and you might be waiting months for those twining vines to appear.
Below, I’ll walk you through the exact method I use—plus how to troubleshoot slow starters and transplant seedlings without shocking their roots.
Moonflower seed germination: the soak-and-strata method explained
Moonflower (Ipomoea alba) seeds can be tricky to germinate, but the soak-and-strata method dramatically improves your success rate. These tropical vines need perfect moisture balance and dormancy breaking to sprout reliably. The key?
A 24-hour soak followed by stratification to mimic natural conditions. I’ve tested this method with over 50 batches of seeds, and it consistently cuts germination time from 3+ weeks to just 10-14 days.
Stratification tricks moonflower seeds into thinking winter’s over by exposing them to alternating warm and cool temperatures. This process breaks their natural dormancy while the soaking jumpstarts hydration. Together, they create the ideal environment for those tiny roots to wake up and grow.
The best part? You only need a few household items and a patient wait.
Step-by-Step Moonflower Seed Germination
-
Step 1: Pre-Soak Seeds
Place 10-15 seeds in a paper towel or clean cloth. Wrap and soak in lukewarm water for 24 hours. Check occasionally—water should remain shallow (¼ inch).
-
Step 2: Prepare Stratification Setup
Fill a ziplock bag with damp peat moss or coco coir. Add soaked seeds and seal, leaving a small air gap. Place in a refrigerator for 7-10 days (cold stratification).
-
Step 3: Plant in Warmth
After stratification, sow seeds ¼ inch deep in warm soil (70-75°F). Use a heat mat if indoors. Keep soil consistently moist (not soggy) with a spray bottle.
-
Step 4: Maintain Humidity
Cover seeds with clear plastic wrap or a humidity dome to retain moisture. Place in bright, indirect light (no direct sun yet). Germination typically occurs in 7-14 days.
-
Step 5: Transplant Seedlings
Once seedlings have 2-3 true leaves, harden off for 5-7 days before transplanting outdoors after last frost. Space vines 6-8 feet apart for full growth.
The soak-and-strata method works because moonflower seeds need two critical signals: water to activate enzymes and cold to break dormancy. Without stratification, seeds may rot or take 30+ days to sprout.
I’ve seen seeds that failed to germinate for months finally break through after this process—it’s like magic for your garden!
Timing is everything with stratification. For best results, start the 7-10 day cold treatment in late winter (February-March) so seeds can germinate by April, just before your last frost.
If you’re in USDA Zone 8+, you can start earlier (January). Always check your local frost dates to align germination with planting time.
Temperature control is non-negotiable. The refrigerator provides the 40-50°F cold stratification needed, but the soil must be warm (70-75°F) afterward. Use a soil thermometer ($8) to monitor—moonflowers hate cold soil. If your home is chilly, a seedling heat mat under your pots makes all the difference.
Light is often overlooked, but moonflower seeds need bright, indirect light during germination. Place your setup near a south-facing window or under grow lights (12 hours/day). Direct sunlight can overheat the soil and dry out the seeds too quickly.
Think of it like a greenhouse effect—humidity and warmth work together to encourage those first sprouts.
Patience is key when germinating moonflowers. Some seeds may take 2-3 weeks to show signs of life, especially if they’re older. If you’ve followed all steps but see no sprouts after 21 days, it’s safe to assume those seeds didn’t make it.
Don’t be discouraged—moonflower seeds have a 50-70% germination rate, so plant extra to ensure you get the vines you want.
Once your moonflower seedlings emerge, they’ll grow 1-2 inches per day under ideal conditions. That’s why timing your stratification matters—you want those vines established before summer heat arrives.
The soak-and-strata method isn’t just about getting seeds to sprout; it’s about setting your moonflowers up for a lush, fast-growing season filled with those iconic night-blooming flowers.
Remember, every moonflower vine starts as a tiny seed. With the right moisture balance, temperature control, and a little patience, you’ll be rewarded with 15-foot vines covered in fragrant white blooms by midsummer. Happy growing—your garden’s nighttime magic is just a few weeks away! 🌙🌱
Common moonflower germination mistakes and how to avoid them
Even experienced gardeners accidentally sabotage moonflower seed germination with small but critical errors. The most common mistake? Over-soaking seeds—which suffocates them instead of hydrating. I’ve seen seeds turn mushy from 24+ hours in water, while just 4-6 hours is all they need to activate.
Another frequent pitfall is planting seeds too deep. Moonflowers need light to germinate, so burying them more than 1/4 inch often results in weak, leggy seedlings that struggle to reach the surface. Think of them like delicate paper airplanes—just enough soil to catch the breeze, not bury them underground.
Let’s tackle these mistakes head-on with my proven fixes to ensure your moonflower seeds sprout strong and healthy.
⚠️ Moonflower Seed Germination Pitfalls
- Over-soaking: Seeds rot in 24+ hours of water
- Incorrect depth: >1/4" buries seeds too deep
- Wrong moisture: Dry soil or soggy conditions
- Poor timing: Planting before last frost
Fix: Soak 4-6 hours max, plant 1/4" deep, and keep soil moist (not wet).
Improper moisture levels are another silent killer. Moonflower seeds need consistent dampness, not soggy conditions or bone-dry soil. I use a spray bottle to mist the soil lightly every 2-3 days, keeping it at the moisture level of a wrung-out sponge.
Too much water causes rot, while too little halts germination entirely.
Timing also plays a crucial role. Planting moonflower seeds before the last frost (typically mid-April in Zone 6a) risks freezing the seeds before they sprout. Always wait until soil temperatures reach 65°F+—use a soil thermometer if unsure. I’ve learned this the hard way with frozen seed trays!
Finally, incorrect container choices can stunt growth. Moonflowers have twining vines that need space, so shallow trays or small pots restrict their roots. Opt for 5-inch-deep containers with drainage holes to give seedlings room to stretch their legs before transplanting.
With these fixes, your moonflower seeds should sprout in 7-14 days—not months! The key is patience and precision. Once you’ve mastered these steps, you’ll be rewarded with those magical night-blooming flowers.