
How To
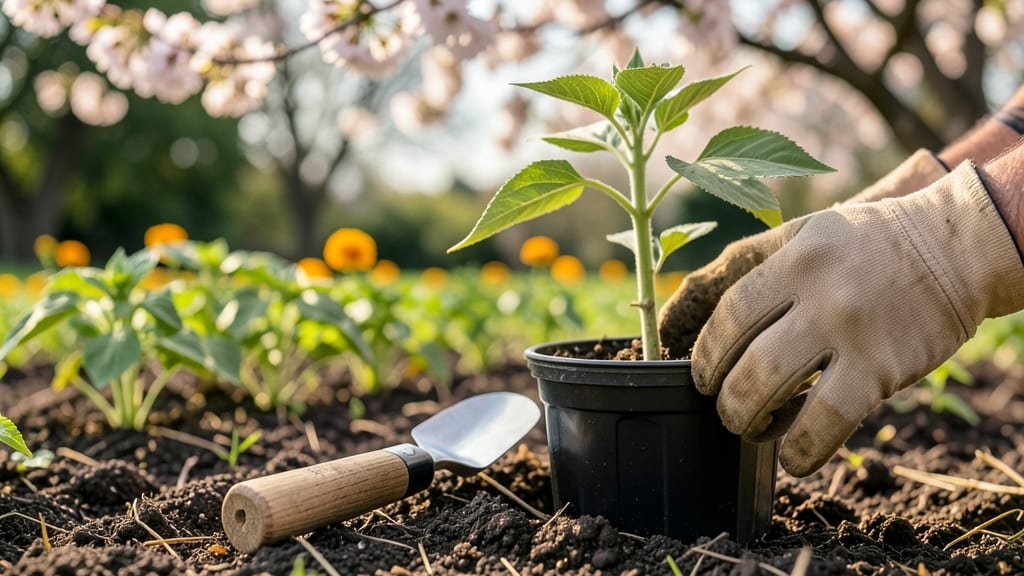
Planting a sunflower seedling the right way ensures your 🌻 grows tall, strong, and ready to bloom in USDA Zone 6a by summer.
Picture this: you’ve nurtured your seedlings indoors, only to watch them wilt after transplanting because of a shallow hole or too much water. The difference between a thriving giant and a sad sapling often comes down to technique—not just timing.
Whether you’re choosing direct sowing in spring or transplanting after the last frost, the key lies in soil prep, spacing, and gentle handling. Skip the guesswork, and you’ll avoid common pitfalls like root shock or stunted growth.
In this guide, I’ll walk you through every step—from hardening off seedlings to spacing them 12-18 inches apart—so your sunflowers reach their full potential by harvest season.


Direct sowing vs transplanting sunflower seedlings: key differences explained
Deciding whether to direct sow sunflower seeds or transplant seedlings can feel overwhelming, but the choice impacts your sunflowers' growth rate, height potential, and even disease resistance. Both methods work, but the best approach depends on your climate zone, garden timing, and personal preferences.
Let’s break down the key differences so you can make an informed decision for your sunflower seedlings.
Sunflowers thrive when planted at the right temperature—typically after the last frost date in your area. In USDA Zone 6a, this usually means waiting until mid-April or later. Direct sowing lets seeds germinate in their final location, while transplanting requires seedling hardening and careful handling.
Each method has unique advantages, like cost savings for direct sowing or faster maturity with transplants.
Here’s a quick comparison to help you decide which method aligns best with your garden’s conditions and your goals for sunflower growth.
| Factor | Direct Sowing | Transplanting |
|---|---|---|
| Best Time to Plant | After last frost (April-May in Zone 6a) | 4-6 weeks before last frost (start indoors in March) |
| Soil Requirements | Well-draining, loose soil (60-70°F) | Same as direct sowing; ensure no compaction |
| Growth Speed | Slower (2-3 weeks to sprout) | Faster (ready to bloom 2-3 weeks earlier) |
| Cost | Low (no seedlings to buy) | Higher (seedlings or starter kits) |
| Success Rate | High in warm climates (less transplant shock) | Moderate (risk of shock if not hardened) |
| Best For | Large gardens, warm climates, budget-friendly | Short seasons, controlled environments, early blooms |
If you’re in a warmer climate like Zone 7+, direct sowing is often the easiest and most cost-effective option. Sunflower seeds germinate quickly in warm soil, and the plants develop stronger root systems without disturbance.
However, if you’re in a cooler climate or have a short growing season, transplanting gives you a head start. Starting seeds indoors in March ensures your sunflowers have a longer time to mature before frost.
Another key factor is space management. Direct sowing lets you plant seeds exactly where you want mature sunflowers to stand, avoiding the need to dig up seedlings later. This is ideal for large gardens or when planting in rows.
Transplanting, on the other hand, offers flexibility—you can start seeds in small containers or seed trays and move them to their final location once they’re established.
For dwarf varieties or semi-dwarf sunflowers, transplanting can be particularly beneficial. These types grow more compactly and may struggle with the root disturbance of direct sowing if planted too closely.
Transplanting allows you to space them precisely for optimal air circulation and light exposure, reducing the risk of fungal diseases like powdery mildew.
One common misconception is that transplanting sunflowers is difficult because of their taproot system. While it’s true that sunflowers develop a long, deep root, young seedlings (up to 4-6 inches tall) can be transplanted with minimal stress.
The key is to water deeply before transplanting and to handle the seedlings gently to avoid root damage. If you’re concerned about transplant shock, consider using biodegradable pots that can be planted directly into the ground.
In my experience, direct sowing works best for standard sunflower varieties like ‘Mammoth’ or ‘Russian Giant,’ which are hardy and thrive in full sun conditions. For these types, the effort of transplanting often isn’t worth the minor growth advantage.
However, if you’re growing heirloom or rare varieties, transplanting gives you more control over the growing conditions and ensures you don’t waste seeds on slow starters.
Regardless of your method, pay close attention to soil temperature and moisture levels. Sunflower seeds need soil that’s at least 60°F to germinate, and consistent moisture is critical in the first 2-3 weeks
Step-by-step guide to transplanting sunflower seedlings for maximum growth
Transplanting sunflower seedlings the right way can mean the difference between a 10-foot giant and a struggling sapling. The key is minimizing transplant shock while giving roots room to establish.
Start by waiting until all danger of frost has passed—typically after April 15 in Zone 6a—and soil temperatures reach at least 55°F.
Before moving seedlings outdoors, they need to harden off for 7-10 days. Place them in a shaded spot for 2-3 hours daily, gradually increasing exposure. This toughens stems and prevents wilting once planted. Avoid transplanting on windy days, as this stresses delicate seedlings.
Step-by-Step Transplanting Guide
- 🌱 Step 1: Prepare the Soil
Loosen soil to a depth of 12 inches with a garden fork. Amend with compost for nutrients and improve drainage. Sunflowers thrive in well-draining soil with a pH of 6.0-7.5. - 🪴 Step 2: Dig the Hole
Create a hole twice as wide as the seedling’s root ball but no deeper. Gently remove the seedling from its container, loosening tangled roots with your fingers. - 💧 Step 3: Water Before Planting
Soak the seedling’s roots and the hole with water. This hydrates roots and helps settle soil around them. Avoid soggy soil, which can cause rot. - 📏 Step 4: Plant at the Right Depth
Place the seedling so the top of the root ball sits 1 inch below soil level. Fill the hole with soil, pressing lightly to eliminate air pockets. - ☀️ Step 5: Space for Growth
Space seedlings 12-18 inches apart for dwarf varieties or 24-36 inches for standard types. Taller sunflowers need more room to avoid competition. - 🌿 Step 6: Mulch and Water
Apply 2-3 inches of mulch around the base to retain moisture. Water deeply to settle soil, then maintain 1 inch of water per week during dry spells.
One common mistake is burying the seedling too deep, which can suffocate the stem. Always plant at the same depth as the container. Another pitfall is transplanting on a hot afternoon, which increases stress. Early morning or late afternoon is ideal for outdoor work.
After transplanting, monitor seedlings closely for signs of transplant shock, like wilting or yellowing leaves. If this happens, provide shade and extra water for a few days. Within 2-3 weeks, your sunflowers should show new growth as roots establish in their new home.
For best results, fertilize lightly with a balanced 10-10-10 formula 2-3 weeks after transplanting. This supports root development without overwhelming the plant. With proper care, your sunflowers will reach their full 8-15-foot height by summer!