
How To
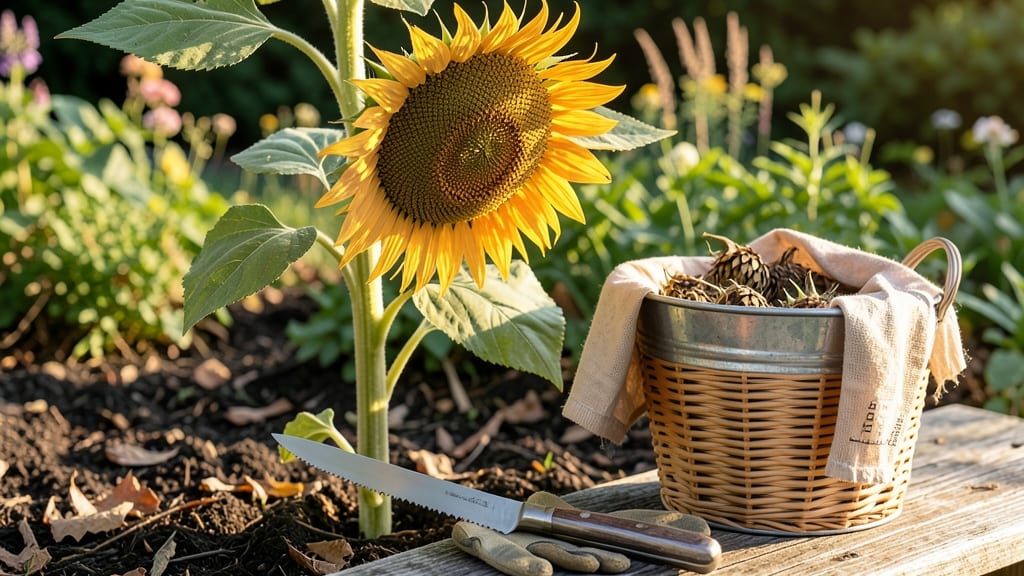
Telling when sunflower seeds are ready to harvest isn’t just about waiting for them to turn brown—it’s about catching that perfect moment when flavor and texture peak.
Harvesting sunflower seeds at the right time means the difference between nutritious snacks and bitter disappointment—so how do you know when those golden blooms are truly ready?
Look for seed heads that have turned a rich, papery brown and rattle loudly when shaken. The back of the head should also split open naturally, revealing plump, firm seeds inside.
In this guide, I’ll walk you through the back-of-hand test and other foolproof ways to confirm ripeness, so you never miss the ideal harvest window in late summer or early fall.
The back-of-hand test: sunflower seed ripeness explained
There's nothing quite like harvesting sunflower seeds at their peak ripeness—crisp, flavorful, and perfect for snacking or replanting. But knowing exactly when to harvest can be tricky, especially when the seed head looks close but isn't quite ready.
The back-of-hand test is a classic gardener's trick that combines visual and tactile cues to ensure you harvest at the perfect moment. This method saves you from bitter, underripe seeds or overly dry, shriveled ones.
The test works by checking two key factors: the color and texture of the seed head and the sound and feel of the seeds inside. When these elements align, you'll know your sunflowers are ready to pick.
I’ve used this method for years, and it’s never failed me—once you get the hang of it, you’ll wonder how you ever guessed otherwise. Let’s break it down step by step so you can confidently harvest your sunflower seeds like a pro.
How to Perform the Back-of-Hand Test
- 1 Check the seed head color: Look for a dull brown or tan hue on the back of the flower head. Avoid harvesting if it’s still green or yellow.
- 2 Test the seed head firmness: Gently squeeze the seed head with your thumb and forefinger. It should feel dry and papery, not hard or moist.
- 3 Perform the back-of-hand test: Hold the seed head in one hand and lightly scrape the back with your nail or fingernail. If the seeds come off easily and are dark and plump, they’re ready.
- 4 Listen for the rattle: Shake the seed head gently near your ear. If you hear a loud, hollow rattle, the seeds are mature and ready to harvest.
- 5 Inspect the leaves: The lower leaves should start turning yellow and dying back. This indicates the plant is redirecting energy to seed production.
One of the biggest mistakes I see gardeners make is harvesting too early because they’re impatient to enjoy their seeds. Underripe seeds taste bitter and won’t store well, while overripe seeds can lose flavor and even sprout prematurely. The back-of-hand test helps you strike that perfect balance.
For example, if you scrape the seed head and the seeds are still light-colored or sticky, wait a few more days. Conversely, if the seeds are dark and dry but the head feels too brittle, they might be overripe.
Timing is also crucial. The best time to harvest is on a dry, sunny morning after the dew has evaporated. This ensures the seed heads are fully dry, making them easier to handle and reducing the risk of mold.
I always harvest mine between 8 AM and 10 AM for the best results. Once you’ve confirmed ripeness with the back-of-hand test, use a sharp pair of pruning shears or scissors to cut the seed head from the stem, leaving about 2 inches of stem attached.
This makes it easier to hang and dry the seeds properly.
After harvesting, let the seed heads dry completely in a well-ventilated, dry place for about 1-2 weeks. You can hang them upside down in a garage or shed, or lay them on a towel-lined tray.
Once fully dry, rub the seeds from the head into a bowl and store them in an airtight container in a cool, dark place for up to 6 months. Properly dried and stored seeds will keep their flavor and viability, making all your hard work worthwhile.
If you’re growing sunflowers for oil production, aim to harvest slightly earlier than for snacking—when the seeds are dark but still slightly firm. For birdseed, you can leave them on the plant a bit longer until they’re fully brown and brittle.
The back-of-hand test works for both, but adjust your timing based on your end goal. With practice, you’ll develop an instinct for when your sunflowers are ready, and you’ll never miss the perfect harvest window again.
Remember, every sunflower variety matures slightly differently, so pay attention to the specific days to maturity listed on your seed packets. For instance, dwarf varieties like 'Teddy Bear' may ripen faster than giant varieties like 'Mammoth'.
But no matter the type, the back-of-hand test remains a foolproof method to ensure you’re harvesting at the ideal time. Happy gardening—and enjoy those delicious, homegrown sunflower seeds!
🌻
Alternative methods to confirm sunflower seed readiness
Beyond the classic back-of-hand test, I’ve found that combining multiple methods gives me the most accurate results. For example, checking the seed head weight and monitoring leaf changes can reveal ripeness even before the seeds rattle perfectly.
These alternative techniques are especially useful when dealing with oil-rich varieties or when you need to harvest seeds for snacking versus commercial oil production.
The most reliable alternative is using a seed color chart that compares the natural progression from green to brown. Most sunflower varieties follow a predictable color shift—starting with bright yellow petals, then transitioning to a pale green seed head, and finally maturing to a deep, papery brown.
I keep a small reference chart nearby to compare against my plants, especially when dealing with multiple varieties in the same garden.
| Method | Visual Cue | Action | Best For |
|---|---|---|---|
| Seed Color Chart | Deep papery brown | Compare against reference | Snack seeds |
| Flower Head Weight | Lightweight, hollow sound | Gently squeeze head | Oil seeds |
| Leaf Changes | Yellowing, wilting | Observe foliage | All varieties |
| Back-of-Hand Test | Dry, papery texture | Rub against hand | General harvest |
Another trick I swear by is checking the weight of the flower head. When seeds are ready, the head feels surprisingly light—almost hollow—because the moisture has evaporated.
I’ll gently squeeze the head between my fingers; if it gives slightly and makes a soft, hollow sound, that’s a clear sign of ripeness. This method works especially well for oil-producing varieties, where seed density matters more than for snack seeds.
Don’t overlook the leaves either! As the seeds mature, the plant redirects energy from the foliage to the seed heads. Watch for leaves turning yellow and wilting, which signals the plant is shifting resources.
I’ve noticed that dwarf varieties show these signs earlier than their taller counterparts, so timing can vary by type. If the leaves are still vibrant green, the seeds likely need more time.
For oil seeds, harvest slightly earlier than for snack seeds—when the back of the head is just starting to turn brown but before it fully dries. Oil content peaks at this stage, while snack seeds develop their best flavor when fully mature and dry.
I’ll often harvest a few heads for oil and leave others to fully ripen for roasting, ensuring I get the best of both worlds from my garden.
Finally, always harvest on a dry morning after the dew has evaporated. This prevents moisture from lingering in the seed heads, which can lead to mold or premature sprouting. By combining these methods—color charts, weight checks, leaf monitoring, and timing—I’ve never missed a harvest window again! 🌾